Next job is to get the four Bradley IFV's finished for them so they can enter the battlefield in style...
24 February 2014
US Mechanized Infantry 3rd Squad
I've now finished the third squad for the US Mechanized Infantry Platoon.
23 February 2014
US Mechanized Infantry 2nd Squad
Oddly inspired by "dipping" some Zulus, I dug out the remaining two squads of US Mechanized Infantry and continued work on them after something of a break, finishing the second of the three squads needed for the US Mechanized Infantry Platoon.
The figures are a mix of Esci and Revell plastics and painted using the techniques detail here...
17 January 2014
The British Are Coming!
I really need to kick start this project to get it back on the road and to this end I picked up three pre-painted 1/72nd Warrior IFV's that come with issue 2 of Military Vehicles magazine for just £2.99...
23 February 2013
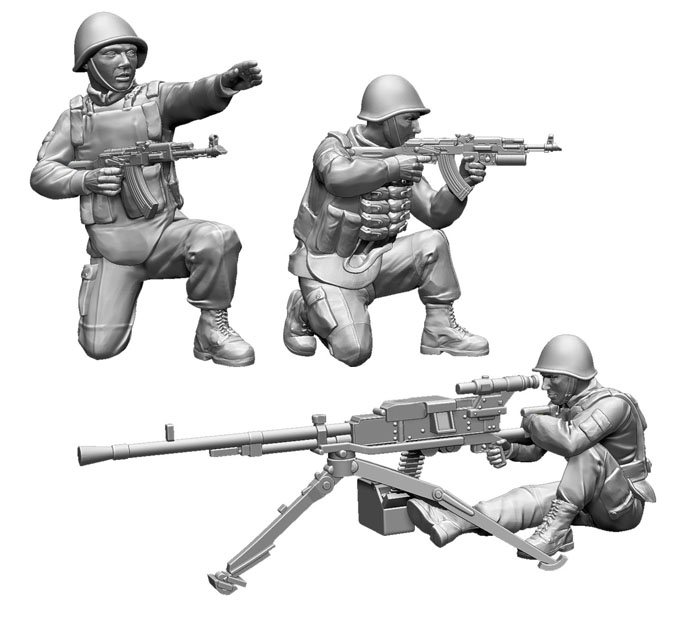
US & Soviet Reinforcements Coming From Zvezda
It appears that Zvezda will be releasing a Cold War Art of Tactic style game this year. Whilst the AFV's will be 1/100th (15mm) and the aircraft 1/144th, there will be some useful 1/72nd (20mm) boxes of hard plastic infantry that will supplying some heavy weapons to the forces in Whirarwistan...
19 January 2013
Soviet Armour: Another T72
Unfortunately Whirarwistan has entered a Phoney War period but things might be about to change with Soviet reinforcements in the form of a second Altaya T72 M1. Rumours that the Soviets have a 1/72nd Mi-24 Hind undergoing repainting for the desert theatre have yet to be confirmed...
30 August 2012
US Air Support: Sikorsky UH-60L Black Hawk
UK based gamers may have seen the launch of one of those interminable part-works magazines, this time Helicopter Magazine. The magazine comes with a 1/72nd scale pre-painted die-cast model each issue (which appear to be Amercom produced Altaya models), the first issue coming with a very useful UH-60L Black Hawk for the introductory price of just £2.99 (normal magazine/model price is £7.99), A quick trip to the local newsagent has seen my US Expeditionary Force in Whirarwistan reinforced with three Black Hawks for under a tenner ready to play with...
The whole series seems to be around twenty-eight models strong (four of which - including a Mi-24 Hind - are part of the subscription deal) and I am giving serious consideration to taking out a subscription as there are a lot of useful looking models in the collection (issue three comes with a Boeing MH47E Chinook!).
22 August 2012
Soviet Armour: T72 M1
The Whirarwistan campaign has unfortunately temporarily stalled due to my suffering from wargamers "ooh shiney" disease, but in the process of painting some phalanxes of Greek hoplites my eyes alighted on an Altaya (aka Amercom aka Deagostini) T72 M1 pre-painted I picked up last year. I must confess I didn't like it when it arrived, it looked plasticy and the sand and black camo was horrid.
However, it got to the point yesterday that I was so sick of looking at the sand and black camo that whilst some shields were drying I decided to slap a bit of green over the black using Vallejo (70924) Russian Uniform WWII. This looked quite good, so I then applied a wash of GW Devlan Mud wash and et voila!
A final drybrush of sand over the tracks and bogies was all that was needed to finish the beast off and I must say I am really pleased with the end result and feel a bit more inspired to revisit Whirarwistan. Now where are the BTR's?
However, it got to the point yesterday that I was so sick of looking at the sand and black camo that whilst some shields were drying I decided to slap a bit of green over the black using Vallejo (70924) Russian Uniform WWII. This looked quite good, so I then applied a wash of GW Devlan Mud wash and et voila!
A final drybrush of sand over the tracks and bogies was all that was needed to finish the beast off and I must say I am really pleased with the end result and feel a bit more inspired to revisit Whirarwistan. Now where are the BTR's?
23 May 2011
Painting US Mechanized Infantry (VII)
Stage Seven: the US troops were finished off with my standard 'hot climate' basing process (the same as my temperate basing process, just with different flock!). Sand was painted GW Bestial Brown and drybrushed Bleached Bone. The static grass is GW's Dead Grass. Overall I'm very pleased with how these came up, the colours may have a little too much brightness to be 100% correct but they give a good impression of US Desert BDU and look good on the tabletop. Now I just have to finish off the other two squads of the platoon!
| US M247 SAW and M203 Grenadier (Revell) |
| US Squad Leader (Esci) |
22 May 2011
Painting US Mechanized Infantry (VI)
Stage Six: having allowed the dip 24 hours to dry I have given the miniatures a quick spray with matt varnish taking the gloss off. Have to say I'm very pleased with how they've come out, just basing now...
Painting US Mechanized Infantry (V)
Stage Five: the dip, as with the Soviet Naval Infantry I used Army Painter Strong Tone painted on rather than dipped to maintain a degree of control, checking after a few minutes to remove any heavy pooling (in crooks of arms and between the legs especially).
20 May 2011
Painting US Mechanized Infantry (IV)
Stage Four: just a case of blocking in the remaining details having already done the weapons and boots. The kit was painted Vallejo (70890) Reflective Green and the flesh Citadel Elf Flesh. Now just a case of letting them fully dry before getting out the dip...
Painting US Mechanized Infantry (III)
Stage Three: painting the 'chips' was a challenge in that in reality you shouldn't be able to see them at this scale, but they are a distinctive element of the uniform so they need including. I used Vallejo's (70862) Black Grey to paint some small dark dot clusters in the uniform. I found the temptation to just do this on the sand areas as it is hard to see on the brown but resist the temptation! That is because when you add white dots on top, they contrast better on the brown than the sand...
I also painted the weapons and boots using the Black Grey at this stage.
Painting US Mechanized Infantry (II)
Stage Two: I added the main camo pattern using Citadel's Vermin Brown. Again, in it's raw state it is too bright but I am trusting it will tone down but still provide some contrast. The irony of painting camo in this scale is you want it to look as distinctive as photos of the real thing when in reality a 20mm figure viewed from three foot up should be anything but distinctive! :-)
Painting US Mechanized Infantry (I)
Stage One: following on from the success of the Soviets I decided to use the dip on the Americans (a mix of Esci and Revell). The first stage after a white undercoat was an overall covering of Vallejo (70819) Iraquian Sand. This is a little brighter than the desert tan DBDU but the dip will help tone it down but still have some contrast.
Given the Second Gulf War it proved quite hard to Google images of soldiers from the first war in any quantity to check uniform details, fortunately I had picked up two Europa Militaria books, Operation Desert Shield: The First 90 Days and Victory in the Gulf, on the war that are copiously illustrated with colour photos of all armies, especially the Americans. Both proved very useful and have me pondering introducing French and British allied NATO support into Whirarwistan one day.
14 May 2011
US Armour
For most of the AFV's in my Whirarwistan campaign I decided to use any available pre-paints looking for plastic/die-cast bargains on eBay. Various companies make 1/72nd pre-paint armour including the likes of Dragon, but for Whirarwistan I turned toward the models made by Altaya (aka Amercom aka Deagostini) (they have been issued under various names in various countries).
Four M2 Bradley's arrived today, pre-painted in the sand over green camo that saw short service in Saudi Arabia soon after the Kuwait invasion of 1991. I went for this as I thought it would make a nice change from the overall US tan seen in Iraq and Afghanistan. The models are okay, they could do with some stowage adding and a good weathering. Also the bogies on one are poorly fixed and will need carefully removing and re-gluing. However for around £7 a model including postage I'm happy enough with them.
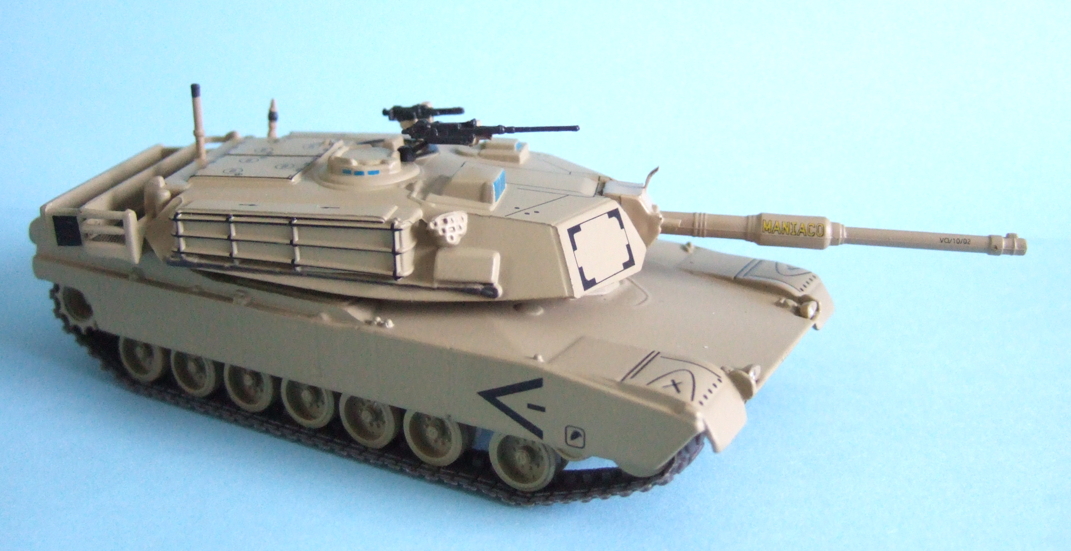
Whilst the focus of my games will be infantry actions (with IFV support) I couldn't resist an eBay bargain of an M1A1 (HA) for a fiver. Again this is an Altaya model albeit an USMC model in overall tan. I am not sure whether or not to repaint to match the Bradleys, probably not. Reading about the operational history of the M1A1 in the Gulf War it is clear that the T-72's had a major problem penetrating the front armour so it may be the Russki's in Whirarwistan have a bit of a problem on their hands! :-)
Four M2 Bradley's arrived today, pre-painted in the sand over green camo that saw short service in Saudi Arabia soon after the Kuwait invasion of 1991. I went for this as I thought it would make a nice change from the overall US tan seen in Iraq and Afghanistan. The models are okay, they could do with some stowage adding and a good weathering. Also the bogies on one are poorly fixed and will need carefully removing and re-gluing. However for around £7 a model including postage I'm happy enough with them.
Whilst the focus of my games will be infantry actions (with IFV support) I couldn't resist an eBay bargain of an M1A1 (HA) for a fiver. Again this is an Altaya model albeit an USMC model in overall tan. I am not sure whether or not to repaint to match the Bradleys, probably not. Reading about the operational history of the M1A1 in the Gulf War it is clear that the T-72's had a major problem penetrating the front armour so it may be the Russki's in Whirarwistan have a bit of a problem on their hands! :-)
13 May 2011
Painting Soviet Naval Infantry (VI)
Stage Six: the final stage was finishing the bases. After blending the miniature bases to the coins with some filler I coated them with sand (and some small rocks on a couple that had fallen off my house's pebbledash) before painting the bases Citadel's Bestial Brown and dry brushing Kommando Khaki. The finishing touch was provided with some clumps of Citadel's Dead Grass flock which is great for hot climes like Whirarwistan.
| Squad Leader and RPK Gunner (Esci) |
| AK74 armed Naval Infantry (Esci) |
Painting Soviet Naval Infantry (V)
Stage Five: having allowed the dip to dry for 24 hours I have now given the miniatures a spray with some matt varnish which has toned the gloss down considerably, they still have a slight sheen but this should go when sprayed again after basing. I also added the beret and hat badges and the hat straps at this stage.
11 May 2011
Painting Soviet Naval Infantry (IV)
Stage Four: the figures have now been dipped and are drying (this should take about 24 hours). Rather than physically dipping them I painted the Army Painter Strong Tone dip on with an old brush. I find this gives you greater control over the process, prevents heavy pooling and doesn't waste too much dip. The key with the dip technique is to check the figures after the first few minutes to ensure you don't have any unsightly pooling in creases or (as happens with smaller scale figures) dip forming a membrane in the gap between the top of legs. It's very hard to see how well the dip is working at this stage due to the gloss effect, but close up they look pretty good.
10 May 2011
Painting Soviet Naval Infantry (III)
Stage Three: after painting the bitmap patterns it is a case of painting the flesh (Elf Flesh) and equipment using a mix of Citadel and Vallejo. The webbing was painted in Bestial Brown with the bayonet scabbard and brown on the weapons in the slighter more tan Vermin Brown. Pouches were painted (70886) Green Green and the tropical hats (70882) Middlestone with a dash of white. The jerseys were just painted white, I didn't try adding blue lines as the area is too small. The black on the weapons, boots and berets was a dark grey mixed up specifically.
Once they've dried overnight they'll be ready for dipping. I didn't bother adding details like badges as it is likely it would be obscured by the dip and so this will be done last of all.
Painting Soviet Naval Infantry (II)
Stage Two: the most distinctive feature of the KLMK is the light "bunny ear" bitmap camo pattern printed over the basic green. I'm not sure how this will come out after a coat of dip so I painted a number of bitmap patterns over the green using Vallejo (70819) Iraquian Sand which is quite bright but hopefully will look ok after the dip is painted on.
Subscribe to:
Posts (Atom)